


NOTE: This article to assumes you have NGINX and local DNS configure correctly if not check out this article to get started.
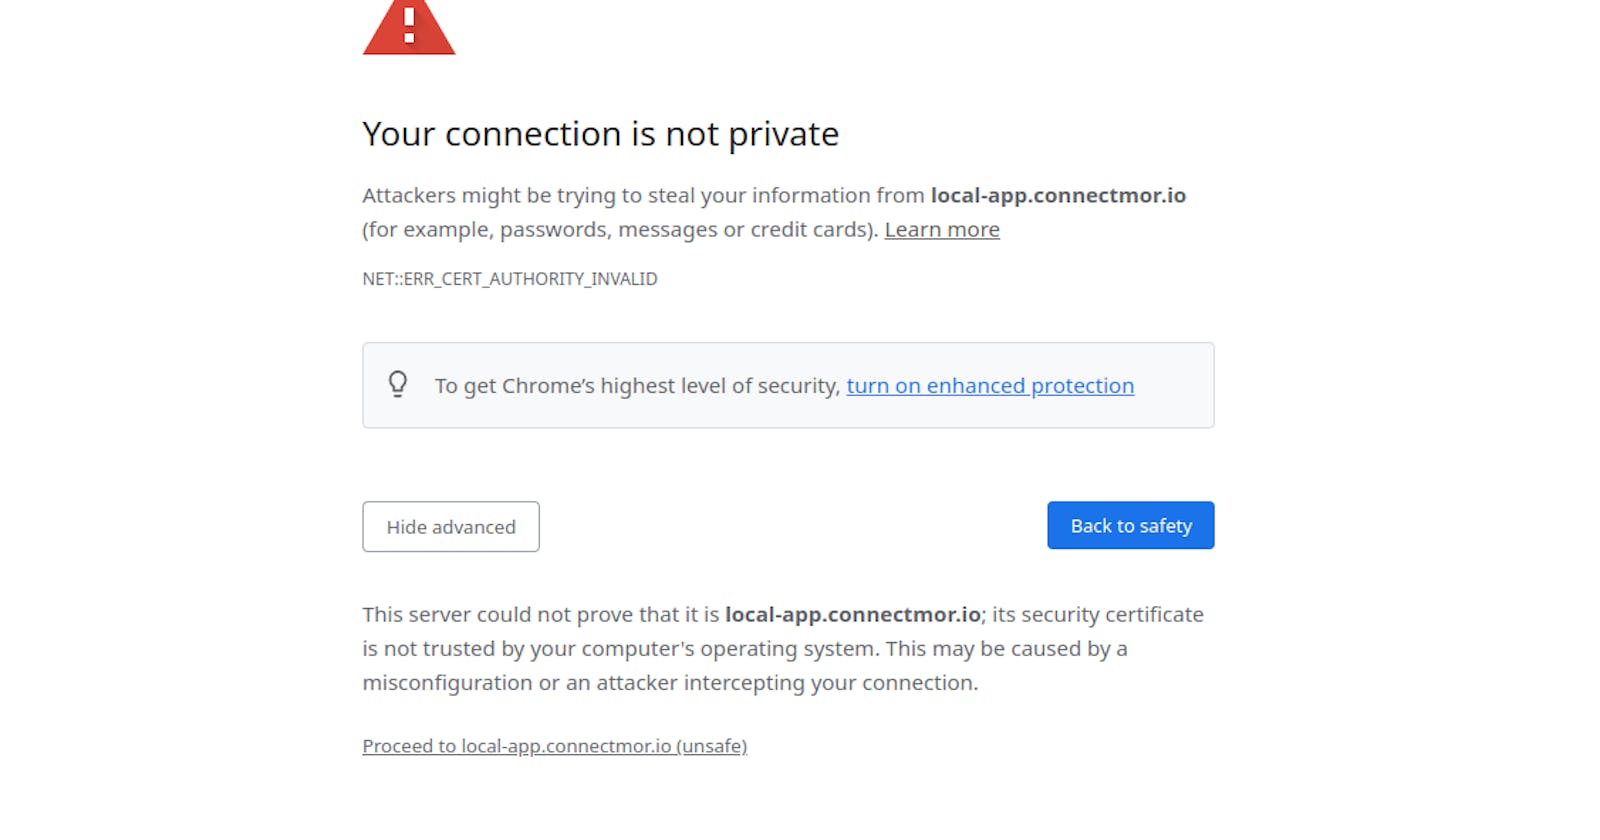
If you're building web applications, then you've probably run into this before. You need to run your local environment over HTTPS because you're connecting to some third party API (maybe Facebook login etc.). You create an SSL cert, add it to your NGINX config, open your browser and bypass the NET::ERR_CERT_AUTHORITY_INVALID warning.
Next you can't connect to the local back-end server instance because it's also not trusted. You can't be arsed finding the commands and creating a new ssl cert so you use the same one or maybe you're only using the snakeoil cert that comes with the OS.
This works fine but you're still going to be annoyed by the browser warnings, and if you're using websockets then it's an even bigger hassle. Repeat all this for every project you're working on, and every domain it uses. It adds up. It's not the biggest issue in the world but it's enough to be annoying. Also, getting rid of the 'NOT Secure' warning in the URL bar is surprisingly refreshing.
So lets look at what we can do about it?
- Create a local certificate authority (CA)
- Create SSL certs for each project and sign them using this CA
- Add this CA to your browsers trusted authorities
- Create new certs signed by the same CA for other projects
Luckily for you I've put together this handy bash script to add to your arsenal. It's available on my Github but or convenience you can just download it directly
curl --location -O https://raw.githubusercontent.com/brsc2909/makecrt/main/makecrt && chmod +x makecrt
how do I use it ?
I've made this as simple as possible. All you need to do is run the script as root and pass the domains as arguments. you need to specify each domain that this cert will be used with. ( I usually create a separate cert per project).
sudo ./makecert --domains local-app.connectmor.io local-api.connectmor.io
Creating extfile
Creating certificate for local-app.connectmor.io
Signature ok
subject=C = IE, ST = Leinster, L = DUBLIN, O = Local CA beast, OU = IT, CN = local-app.connectmor.io
Getting CA Private Key
NGINX config:
ssl_certificate_key  /etc/ssl/private/local-app.connectmor.io.key;
ssl_certificate  /etc/ssl/certs/local-app.connectmor.io.crt;
And that's it. You can use the NGINX config at the end of the output to update your config.
Adding the CA to my browser. (You'll only need to do this once)
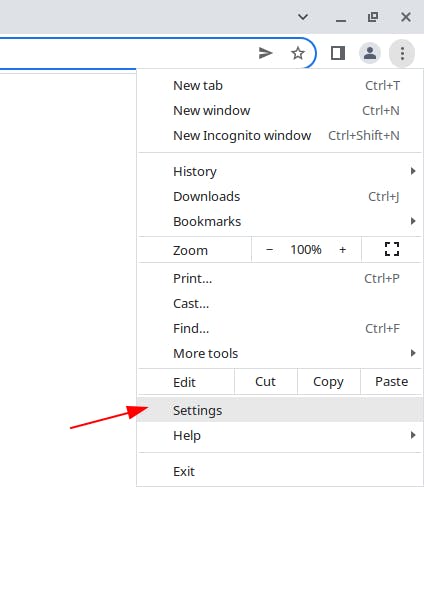
Each browser is slightly different follow the same principals. Below is how to do it on Chrome or any other chromium based browser (Vivaldi e.t.c)

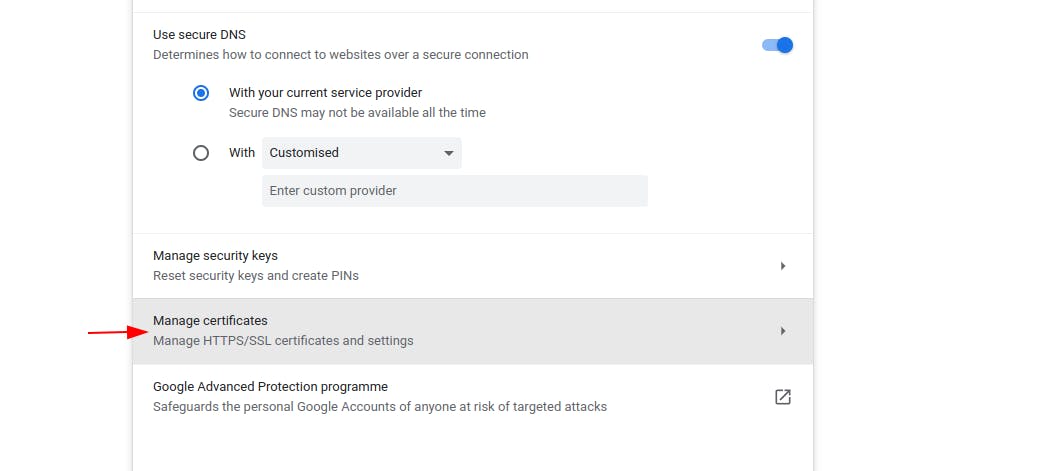
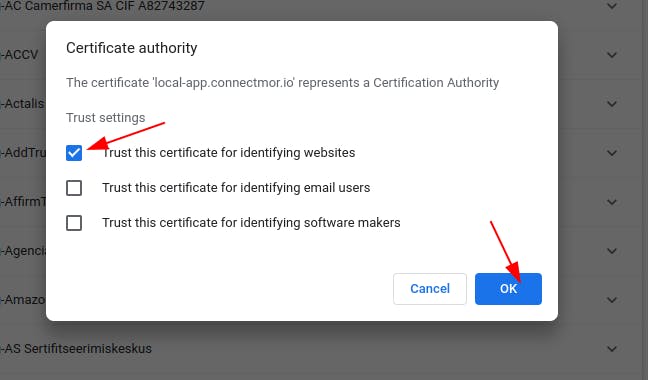
Add the CA cert you just created. If you used all the defaults then it will be located at
/etc/ssl/cers/myLocalRootCA.crt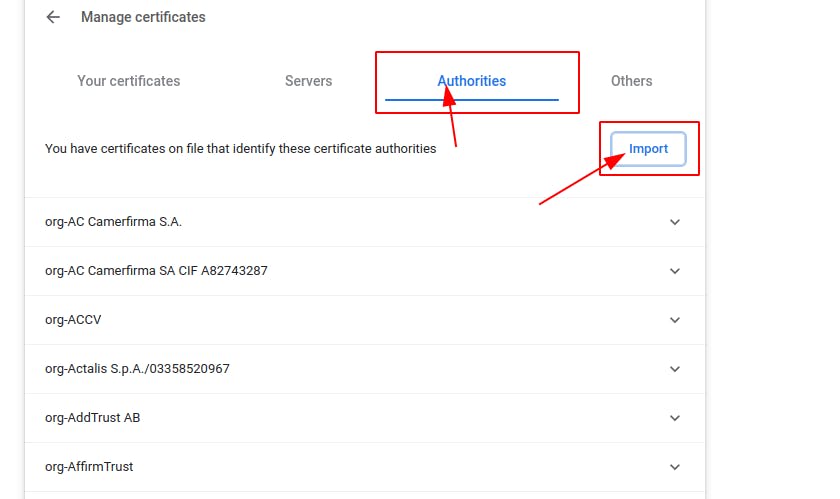
Tell the browser to trust this for identifying websites
You can then check your domain in the list of trusted authorities. Mine looks like this
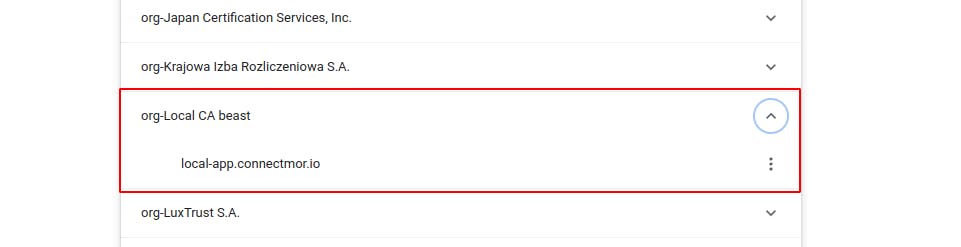
Ah now that is nice

Custom config
depending on your OS you might need to edit the script slightly. For example if your ssl certs are not stores in /etc/ssl/.
You have two options here:
- You can specify the options each time you run the command. use the
--helpoption to view the list of commands.
Usage: ./makecrt -d [domain1, domain2...] [options]

options:
-h, --help           show brief help
-d, --domains <DOMAIN1 DOMAIN2...> Specify domain for which the cert will be used on
     --days          Specify how long the cert is valid for. default: 3650
     --CA            Specify a local CA. default: /etc/ssl/certs/myLocalRootCA.crt
     --CAkey         Specify a local CA private key. default: /etc/ssl/private/myLocalRootCA.key
-pd, --private-dir   Specify private key dir. default: /etc/ssl/private
-cd, --cert-dir      Specify certificate dir. default: /etc/ssl/certs
-e, --eliptic-curve  Specify what type of eliptic curve to use. Default: prime256v1

Example:
./makecrt -d example.com blog.example.com
- Edit the default Values in the script. (This probably makes the most sense)
# You can change these default values to suit
DAYS=3650

CERT_DIR=/etc/ssl/certs
PRIVATE_KEY_DIR=/etc/ssl/private

e_curve=prime256v1
localRootCA=$CERT_DIR/myLocalRootCA.crt
localRootCAkey=$PRIVATE_KEY_DIR/myLocalRootCA.key

EXTFILE=/tmp/_v3.ext

ORG="Local CA $(hostname)"
ORG_UNIT="IT"
COUNTY="DUBLIN"
STATE="Leinster"
COUNTRY="IE"